
Trail Distance: 6.5 miles
Elevation Gain: ~3400′
Terrain Rating: Above Moderate (can be dangerous in poor weather)
Hike In: 9:20AM
Hike Out: 2:50PM
Trailhead: Kea Point Track at the White Horse Hill Car Park off Hooker Valley Road, although I recommend stopping by the Aoraki/Mt. Cook National Park Visitor Center first to double check weather conditions.
The Mueller Hut hike is a fantastic overnight or day trip from the base of Aoraki/Mount Cook National Park. We drove here a few nights before from Christchurch, a 3 hour drive to Lake Tekapo. (There are some great campsites available near the Lake Tekapo and Lake Pukaki region by the way!). We saw that people often stay at the hut overnight, but since it’s only a <6 hour hike round-trip we decided to do it in 1 day.
Before the hike, we were monitoring the weather pretty closely. The wind was insane at the Lake Tekapo base (40kmh+), and we knew it would only get worse up in alpine conditions. Looking at the 2 days we had available for the hike, we chose the option that was a little bit less chilly and windy. It was still estimated to be around 70kmh up at Mueller Hut with -7C wind chill anyway.
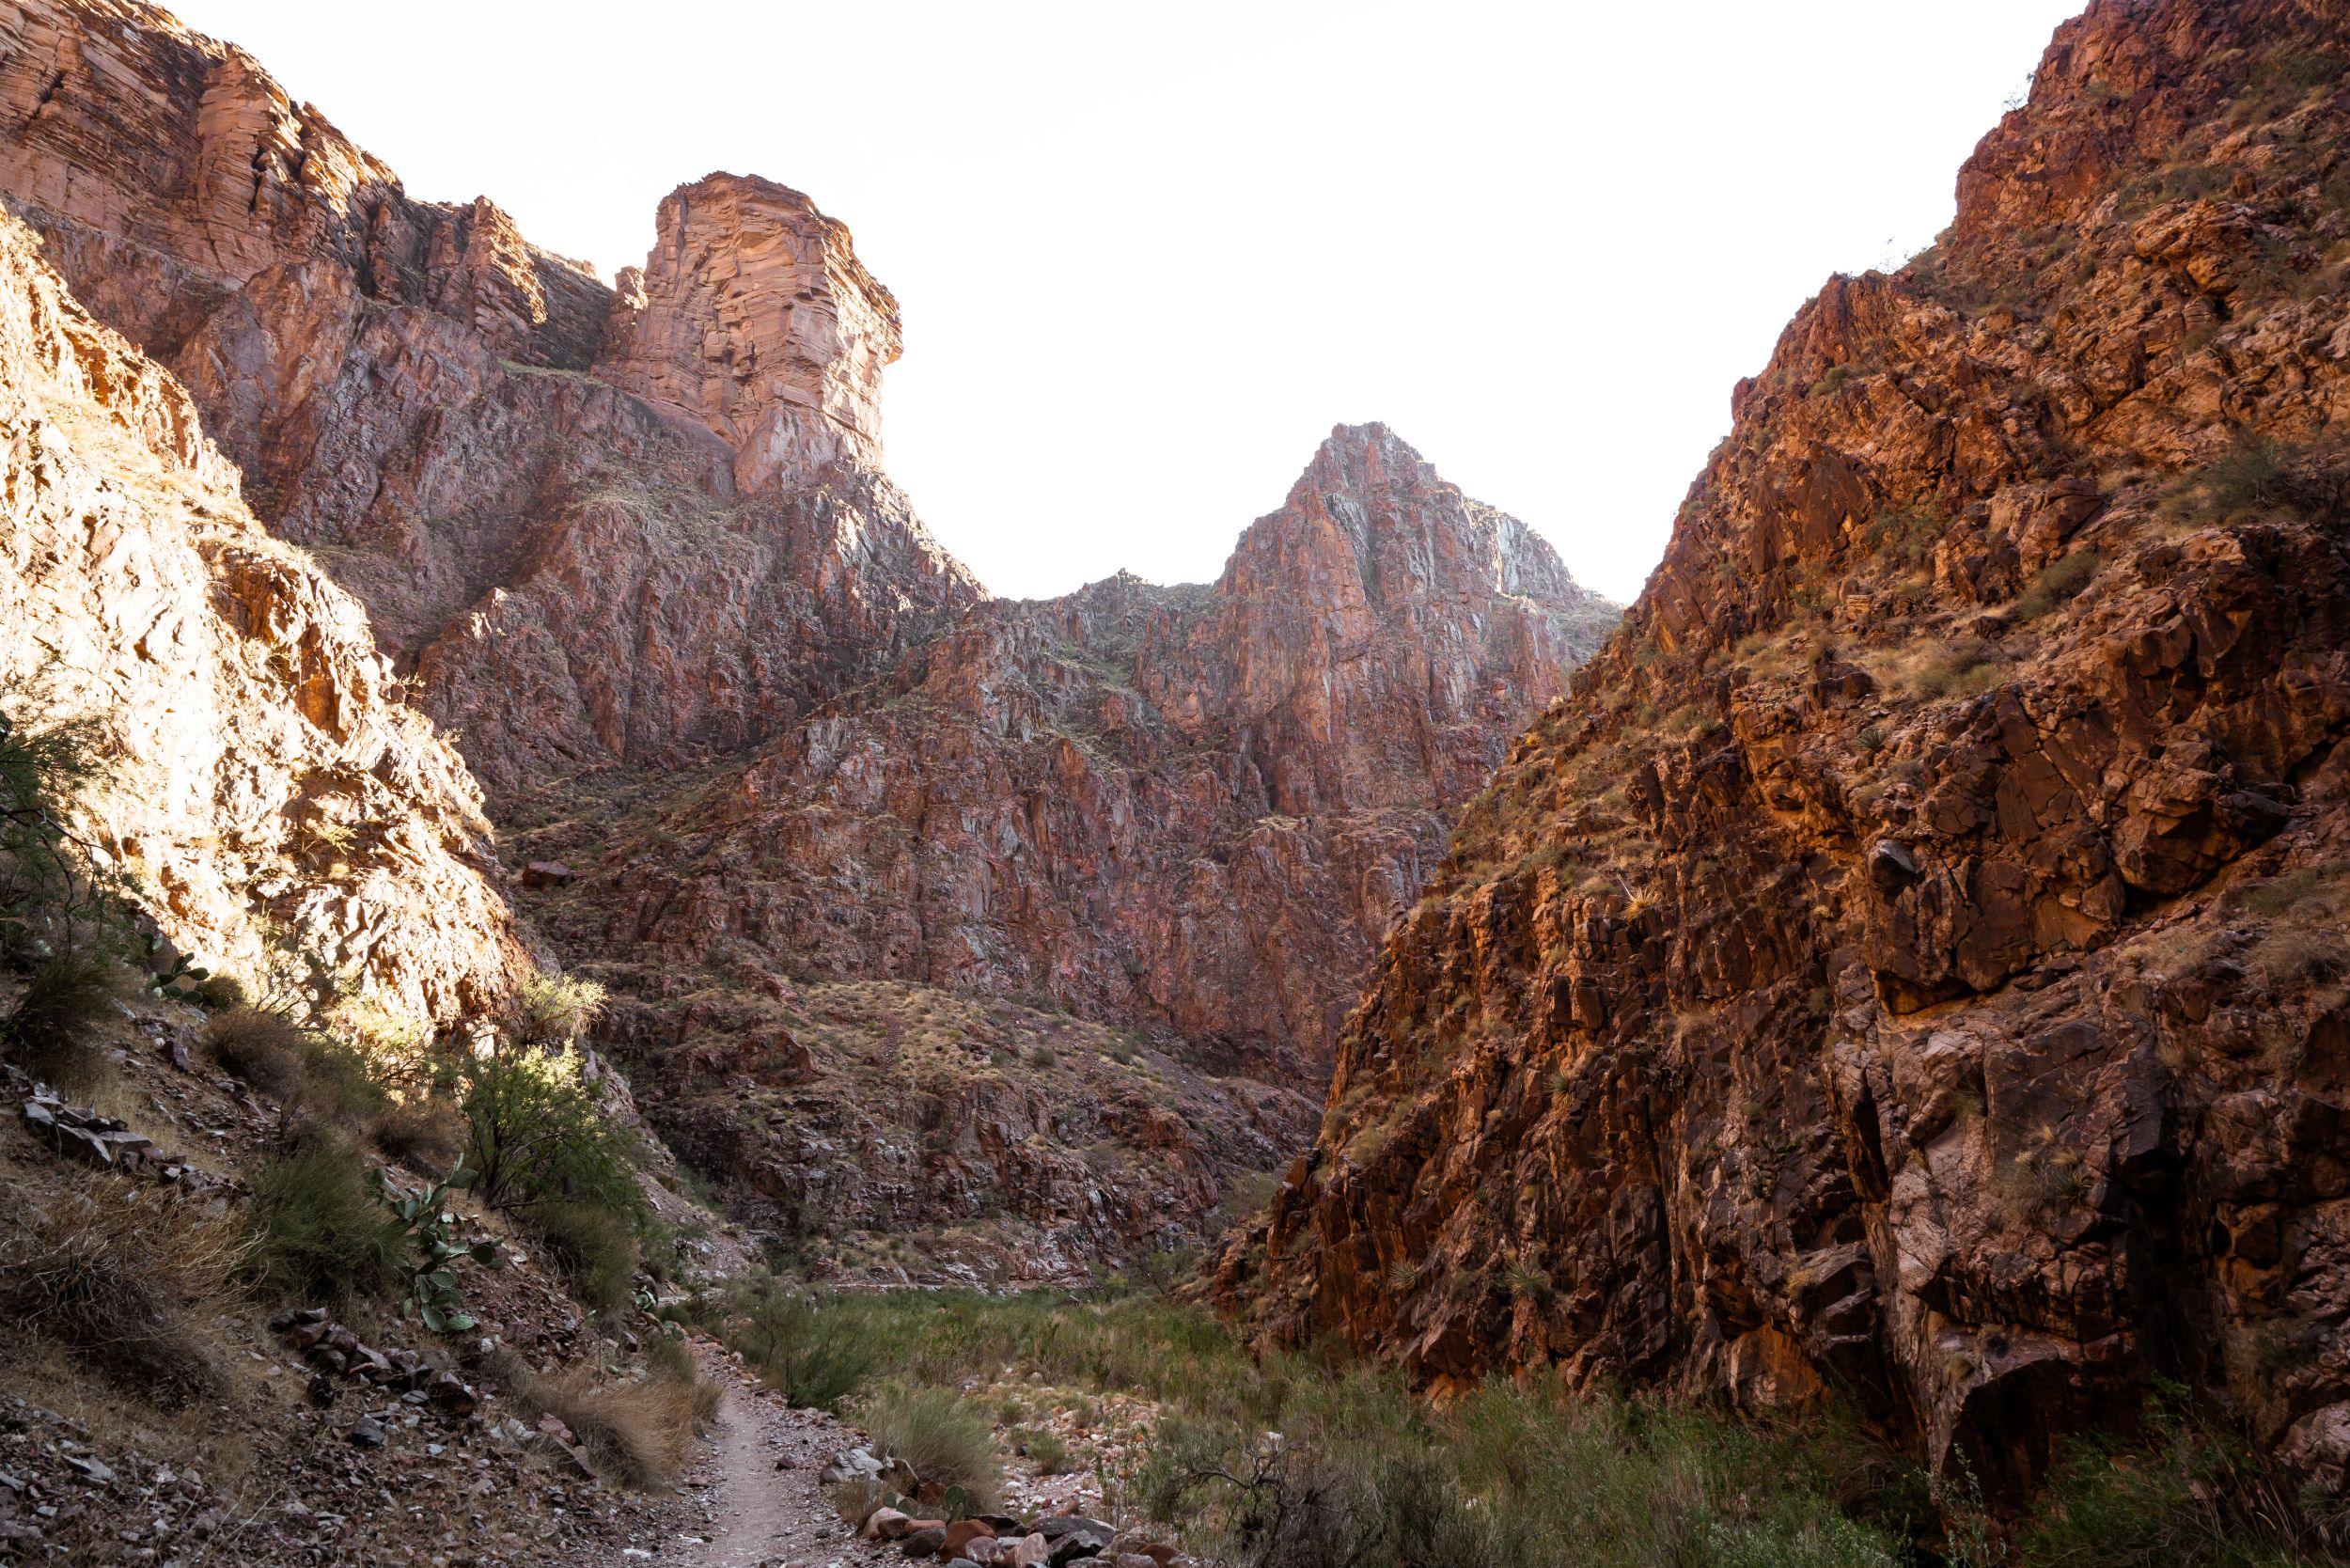
The hike starts off at the car park, where you are on Kea Point Trail for a short amount of time. The hike begins easy enough – a nicely maintained small stone path where you’ll see some other tourists around in jeans and flip flops taking photos. Follow the signs for the Mueller Hut and Sealy Tarns.
Once you start your ascent on Sealy Tarns, you are about to face 1,657 wooden steps/stairs. To me, this was the most painful part of the hike. The scenery is beautiful, yes, but stairs remind me of corporate/city/building life, and not the outdoors. It felt pretty endless so I tried to run up these stairs and get them over with as much as possible. About an hour or so later, we reached a small turnoff to a nice picnic table where we stopped for a quick snack. This picnic table is a great spot to snap a shot of Hooker Valley in the background.
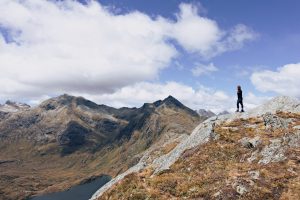
After this, the stairs are over (yay!) and you will begin to scramble. The winds here also picked up considerably. There were a few gusts where I almost fell over, but thankfully my poles kept me upright. The route zig-zags up, marked by orange markers spread throughout. The markers were easy enough to find, but I can see navigation being more difficult in poor visibility. At this time, the weather turned a bit and we were getting ice pellets to the face for about 30 minutes. We stopped a few times to turn against the wind and wait for the gust to die down. When you’re close to the ridge, the boulders become a lot bigger and you may want to put your poles away if you had them. This is also where we first saw snow!

After the ridge, you turn south towards the hut for about 20 minutes. It was incredibly slippery here, with the fresh snow half melting and the rocks. We saw beautiful views of Mount Sefton and even heard a small booming avalanche come through across the way. We ran into a few ill-equipped hikers as well who were shivering with their gloveless hands (!!). At Mueller Hut, the wind was howling. We reached the hut around 12:20pm. The hut is simple but adequate, with a pretty red exterior that contrasts well with the snow. We were happy to go inside for a nice 30 minute lunch break before turning around and heading back. Going down the wooden steps wasn’t as painful as going up. The descent took us only about 2 hours compared to the 3 hours heading up.
Overall, it’s not too bad of a hike physically if you are in hiking shape. (I am definitely not “in shape” by gym definitions). Beginner hikers might have some more difficulty, but the short distance and the added option of an overnight hut makes this a very do-able hike. Comfort on this hike is all about preparation, proper gear, and a bit of patience on those damn stairs! If the weather is bad, choose another day. Make sure you have the right wind and rain gear, ample food, and don’t be afraid to turn around.


Gear Specs:
- Osprey 36L Sirrus Pack and rain cover
- Hiking poles
- Salmon X ULTRA MID 2 hiking boots and Darn Tough socks
- 1.5L of water
- 5 bars + 2 GUs
- Cheese + crackers lunch
- Lululemon yoga pants
- Arc’Teryx Beta SL Pant
- 2 Icebreaker Merino Wool shirts (one long-sleeve)
- Icebreaker Merino mid-layer
- The North Face HyVent 2.5L rain jacket
- Gloves (super important to keep warm if you plan to carry poles!)
- Extra clothes packed away: socks, fleece
- Emergency Gear: Headlamp, First-Aid Kit, Swiss Army Knife, Emergency Blanket

2 Comments
What month did you do this hike in?
January